First off, check out the build video: The Corner Cabinet – CNC Woodworking Fine Furniture
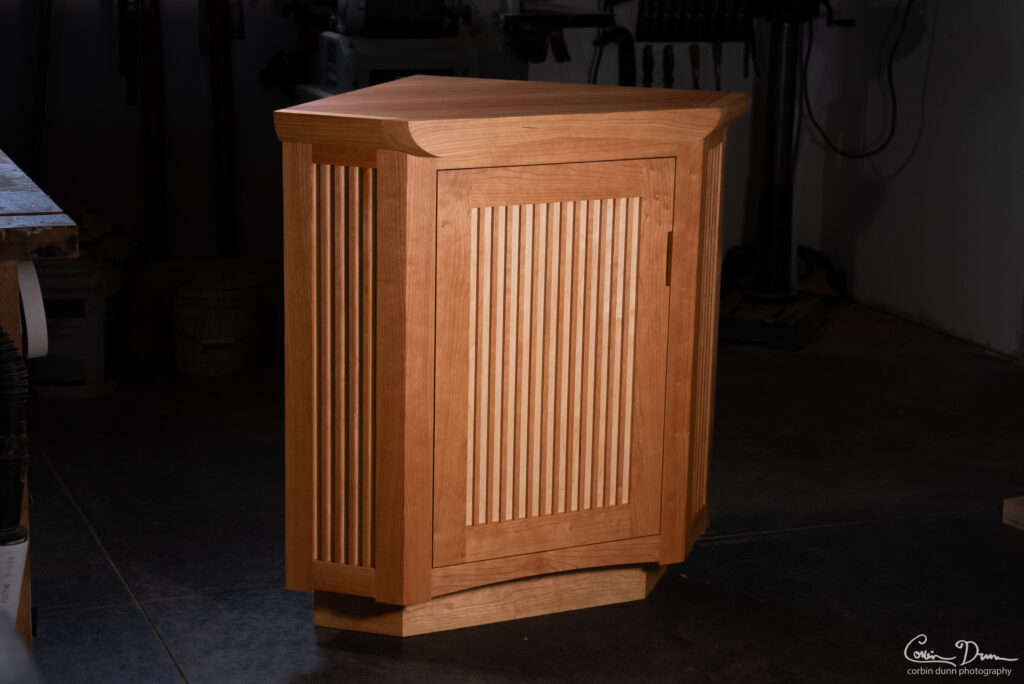
I finished this project about a month ago, but I never got around to posting it to my website. My goal was to create a free standing cabin for a particular corner of our dining room / kitchen area. I modeled up the walls around the area and designed the cabinet around that. Initially, I was trying to maximize the available space, and had one side be longer than another, but I wanted to create a cabinet that I could move to any house and still have it fit in with everything.
The primary wood is cherry, something that is a somewhat affordable hardwood here on the West Coast of California, and the accent wood panels behind the vertical pieces is maple. Over time, the cherry is going to darken a lot, and the color difference between the cherry and maple will get more pronounced.
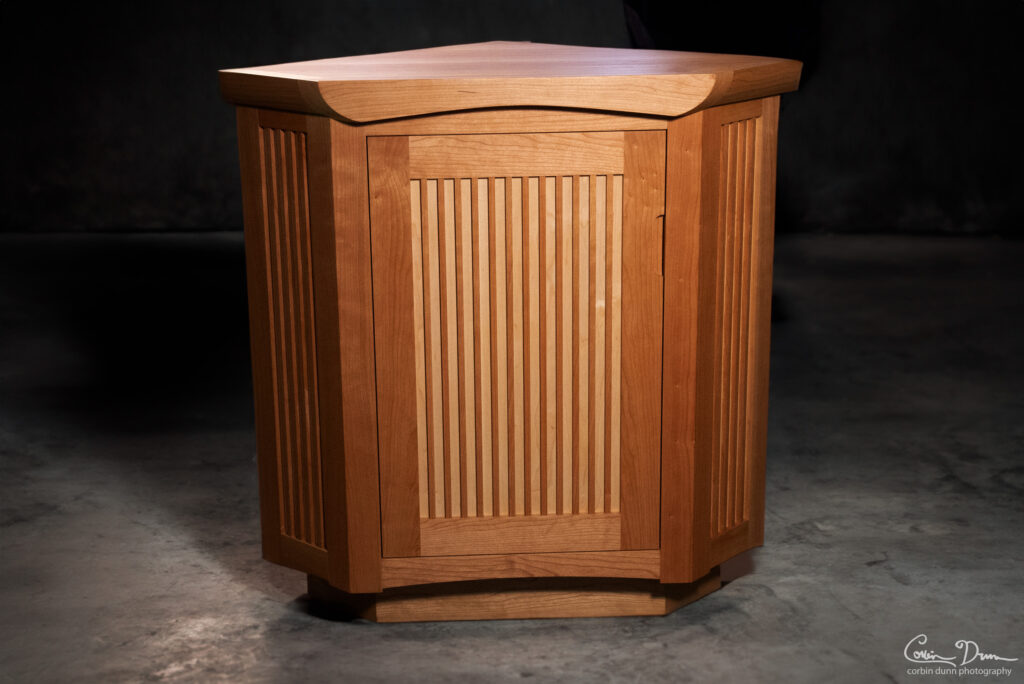
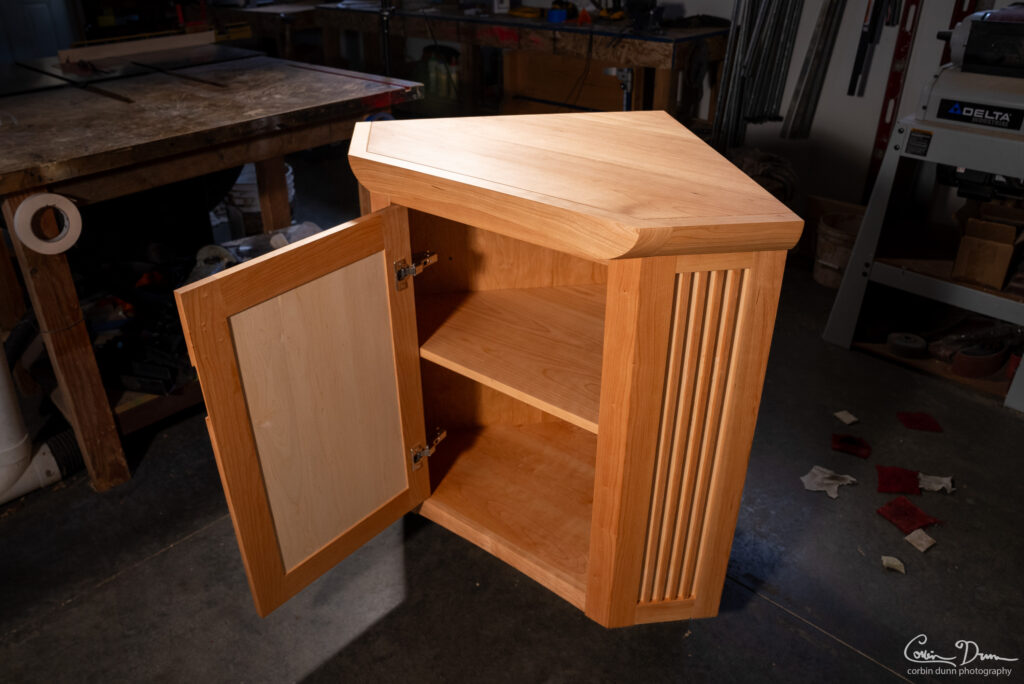
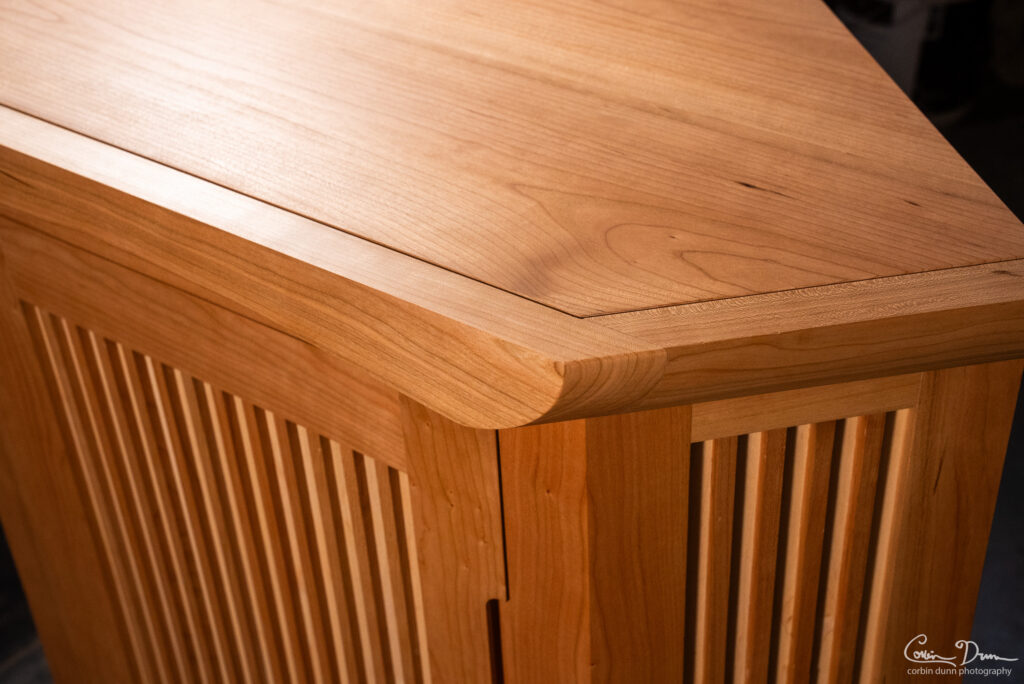
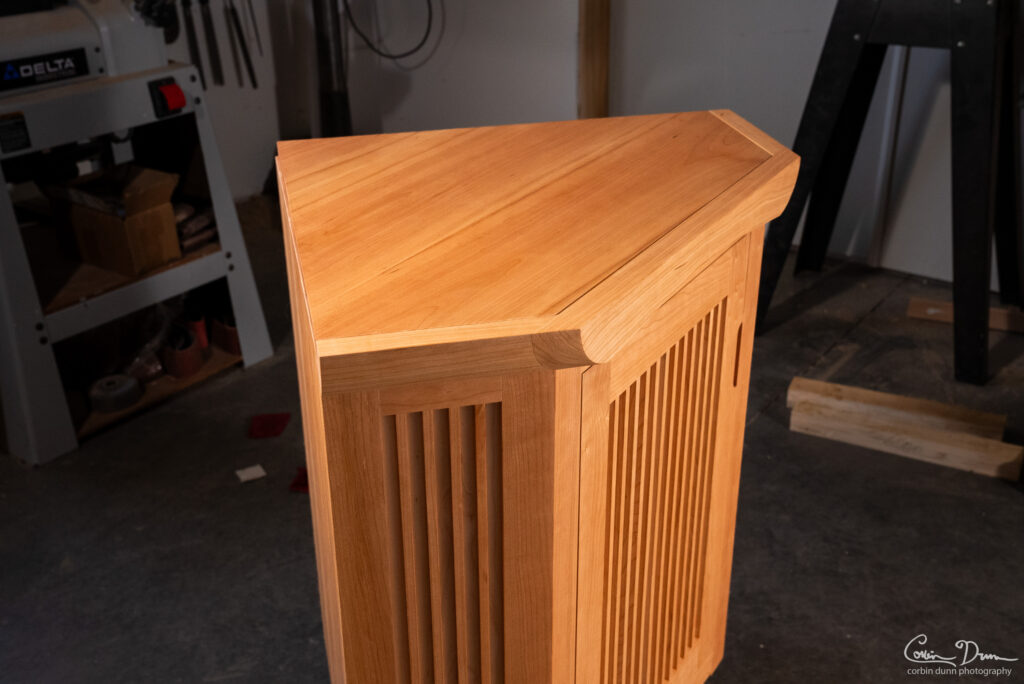
The inspiration for this design came heavily from George Nakashima. He is a famous woodworker who has influenced many people over the years. I took the vertical slat design element from some of his pieces and used it for the door and side panels. I also added a few curves that have a slight Japanese architecture influence.
Like a lot of my projects, I’m sharing the build files for this. Click on the link below to download the free CAD file and “Plans” for how I made it.
I use the term “plans” rather loosely, as I just printed up the bare minimum of what I needed to figure out how to build stuff. I would sometimes reference the CAD file in Fusion 360 when I had some questions on how something was supposed to work.
This was a difficult piece for me to design, and I’m not sure how it will do as time proggresses. Wood moves, and you need to account for it in the design, and I just wasn’t sure how to do that for a triangle-shaped corner cabinet. I did research a lot about it, but I couldn’t find any definite answer on how to do things…so I just made it up. I did the basic things you’d normally do: the door and side panels are “floating” and not glued in, and I left enough space for them to expand and contract. The top piece is not glued on, and I used wood “buttons” with elongated screw holes to let movement happen without cracking wood. The back panels of the carcass are solid wood, and I didn’t want them to move too much and cause issues, so I left a 1/16″ of a gap between the two on the backside where they meet. I think this will work…but we’ll see!
All the joinery is “traditional” mortise and tenon cut with non traditional means: the CNC machine. I also borrowed a a fancy Festool biscuit joiner (called a Domino) and used it for some stuff.


